Across Australia, tens of thousands of older cars continue to provide outstanding service. These days, it is not uncommon for cars to travel 200,000km before suffering a mechanical or other malady that forces it off the road.
But Australia is a harsh environment that takes its toll on paintwork, bodywork and interior. A little regular TLC and attention can keep your car looking at its best. And it has a positive effect on the resale value as well.
On every car, there’s more than just dirt and rain spots making it look untidy. Airborne industrial pollutants, acid rain, dead bugs, tree sap and bird droppings can all degrade the paint. Modern car finishes are all covered with a clear coat to protect the pigmented main layer, but even this UV-resistant outer layer will last longer if you maintain it.
Here’s a simple guide to washing and polishing your car:
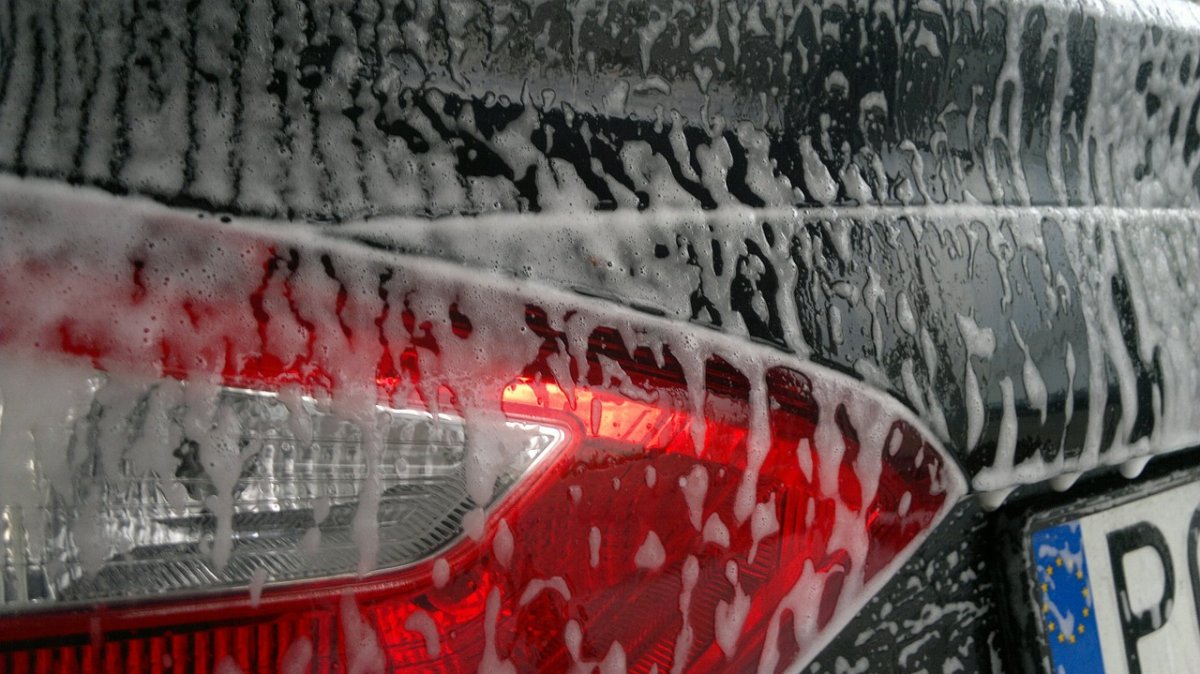
- Pour a car wash detergent in one bucket creating suds (don’t use kitchen washing up liquid – these detergents are designed to remove everything from the surface they are cleaning, and on a car that will include polymers. Used regularly it will actually accelerate the oxidisation process).
- Fill another bucket up with fresh water.
- Try and place your vehicle in a shady place because the sun will cause the soap to dry creating water spots before you can wipe them away.
- Before starting to wash the car, spray it to remove loose particles and cool the paint for cleaning.
- Spray the wheels and wheel wells to remove overspray and mud from the undercarriage and then clean them before getting on with the rest of the car. This simple trick avoids all the slop getting on your freshly cleaned bodywork. Wet down each wheel and tyre, then spray or brush on the wheel cleaner. Use a soft brush to get in where the brake dust hides, then hose down. Lather, rinse, repeat, and then dry the water spots off with a clean towel. Don’t forget to apply car wax to the wheels when you’re done.
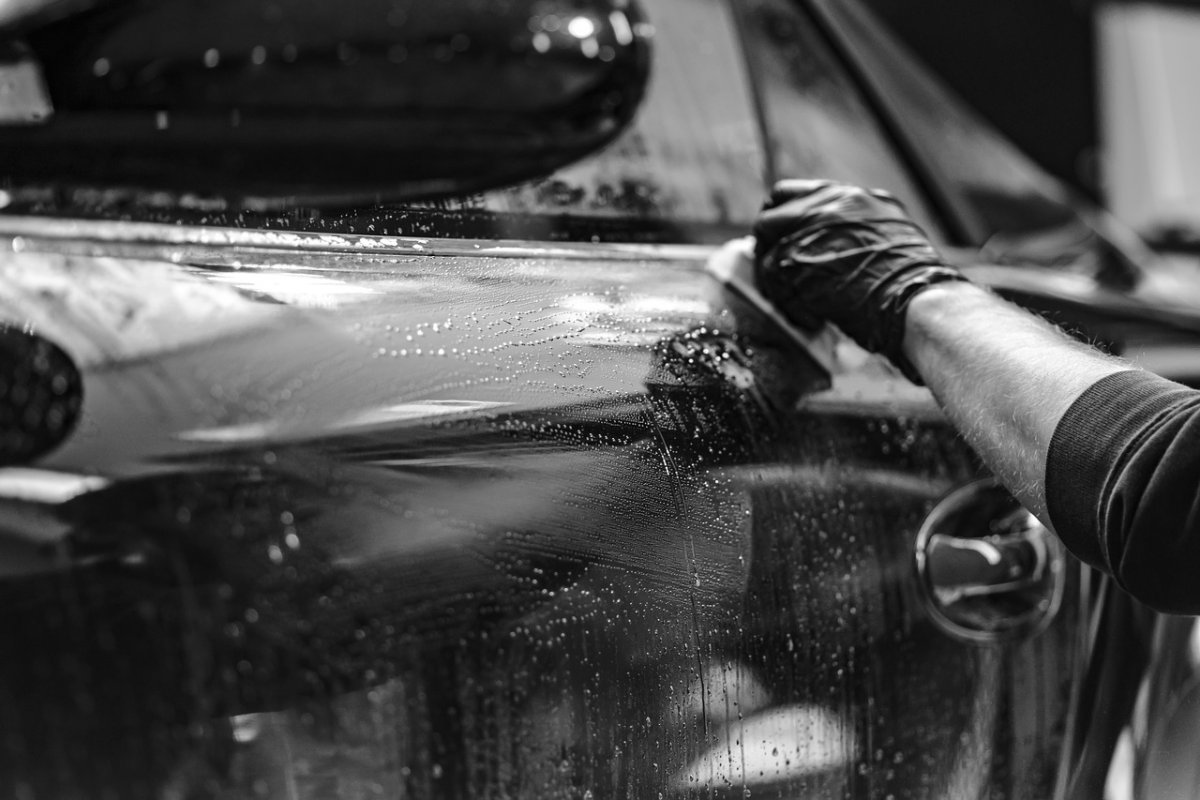
- Start at the top of the vehicle working your way down, do one panel at a time rinsing as you go to keep the suds from drying. You may use a soft sponge or preferably a sheepskin mitt.
- After each panel, rinse your mitt or sponge in the bucket with the clean water as this will prevent the dirt that is collected from scratching your car. A good idea is to place a rack in the bottom of the bucket. This allows the grit to fall to the bottom of the bucket away from your mitt or sponge, ensuring you don’t reapply grit to the paintwork (and that it doesn’t act like sandpaper on your paint finish).
- To prevent scratches when drying, use a soft, absorbent terry-cloth towel, microfiber cloth or a good quality chamois.
- Be sure to pay close attention to the front panels because these are the panels most affected by bugs, tar and overspray. Bloomed or hazy paint will usually recover if you use a good chemical-cleaner wax. If your car has clear-coat paint (most cars made since the ‘90s do) look for a product labelled “clear-coat safe”. Abrasive or “cutting” compounds are great for non-clear-coat paints on older cars, but they cut through the top layer so don’t be tempted to use them too often. If you aren’t sure whether your car has a clear coat or not, rub a hidden area of the paint surface with compound. If the rag picks up any body colour, there’s no clear coat.
- Don’t believe your eyes. Even a shiny paint finish is not necessarily clean. If you run your hand over the paintwork, it should feel glass-like. If it feels rough, you haven’t removed the contaminants. Neglected paint can haze out and collect surface contaminants that chemical-cleaner waxes won’t remove. After a thorough wash to remove abrasive dirt, spray the clay kit’s lubricant over a small section of panel. Knead the clay bar to soften it, and run it over the surface in straight lines. Flip the bar over and rub at right angles. Keep the surface wet. It should take a good hour to clay a typical car.
- Black plastic trim that’s faded to grey can make your car look old before its time. Protectants will help, but won’t last out in the sun. Use a good quality specialised product such as Mothers Back-to-Black cream to restore the trim. Don’t be tempted to use black shoe polish… you’ll regret it. Also take care when polishing what appears to be metal. On modern cars, much of it is actually either chromed plastic or painted and clear-coated metal. Lightly polish an inconspicuous area for a few seconds. Bare metal will leave dark grey residue in the polishing cloth. No grey residue means you’re polishing clear coat, something you don’t want to do.
- After completing the detailing clay process you should polish the paint using a polisher and a high grade polish as this will clean the paint and smooth the surface in preparation for waxing. Polishing is not the same as waxing. It creates a brilliant high gloss surface; waxing protects the finish by coating it with wax polymers, resins and silicones – it won’t make a dull surface shiny.
- The very last step is to wax or seal the paint with a high quality car wax to protect the paint. A clean and waxed surface will repel water and pollutants. The gold standard in wax used to be hard-to-apply paste carnauba wax (the hardest natural wax available). Modern technology has reduced wax to nano-size particles, added synthetics and generally made wax easy to apply and remove. Ensure the car is thoroughly dry before you start applying the wax.
As you can see, proper maintenance is time consuming and labour intensive, but once you’ve done it, your car will look better than it has for years. And keeping it clean will be easier in future; often all that will be required is a quick wash and dry, followed up a with light spray of detailer and a wipe down with a microfiber cloth.