Nothing can ruin the enjoyment of a drive like a grotty interior. Here’s how you can bring yours back to its best.
There’s nothing worse than opening the door of a car and seeing a grubby, stained, garbage strewn interior. But bringing it back to its best, even if you haven’t done a thing to it for years, may not be as impossible as you might imagine.
Step 1. Vacuum.

Remove the floor mats and give them a good shake. Then take a home vacuum cleaner (the small portable car vacs simply don’t have sufficient suction) and vacuum the seats and the carpet. Using an attachment, vacuum under the seats, around the pedals and the area between the centre console and the front seats (it’s amazing how much crud builds up in there!). Vacuum the car mats separately.
Attach a soft brush attachment to the vacuum and set it to a fairly low suction power and vacuum the dashboard, centre console and doors. Take care with knobs, vents and other parts. If you’re vacuuming leather seats, take extra care because they are easily scratched.
Step 2: Clean.
If your fabric upholstery looks like the dog’s been using it as a bed, you’ll need to clean all the grubby spots. Don’t try using something from the laundry cupboard. Instead, use a specialist upholstery cleaner. Spray it evenly on the upholstery and then rub vigorously with a sponge or something similar. Once the spot has gone, wipe it thoroughly with a clean, dry soft cloth.
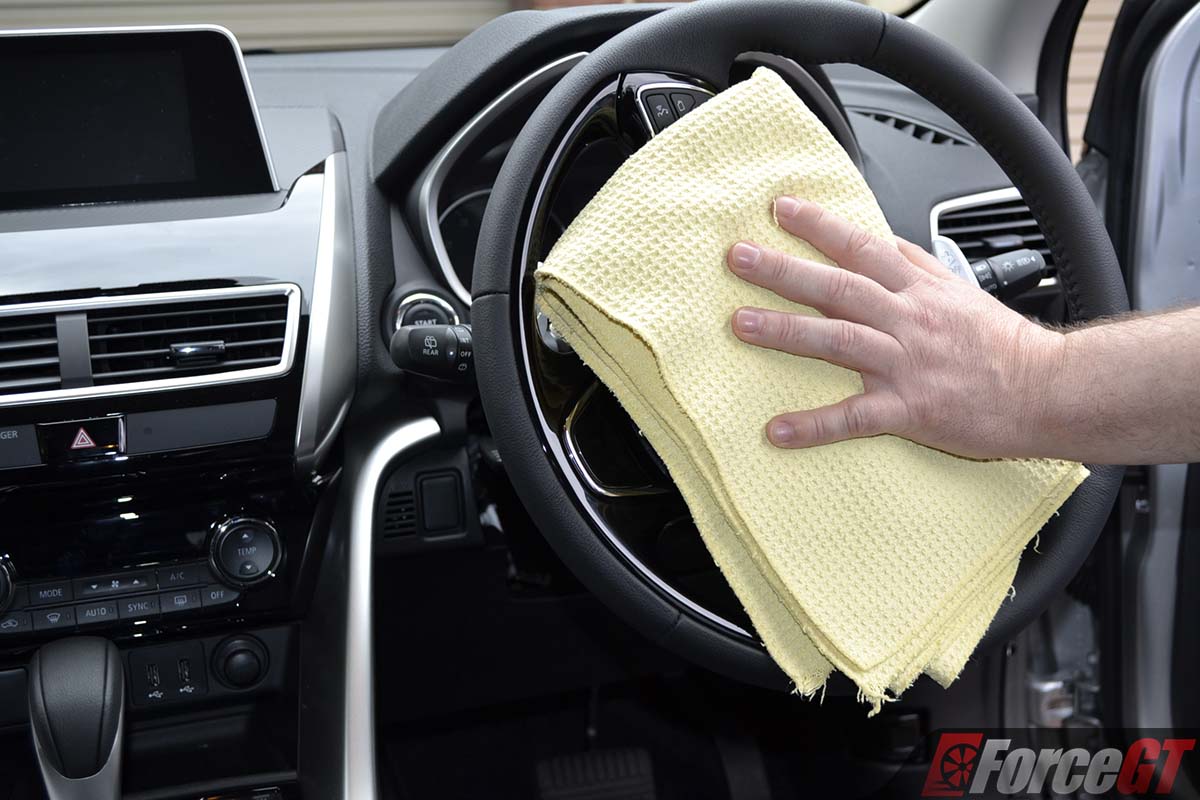
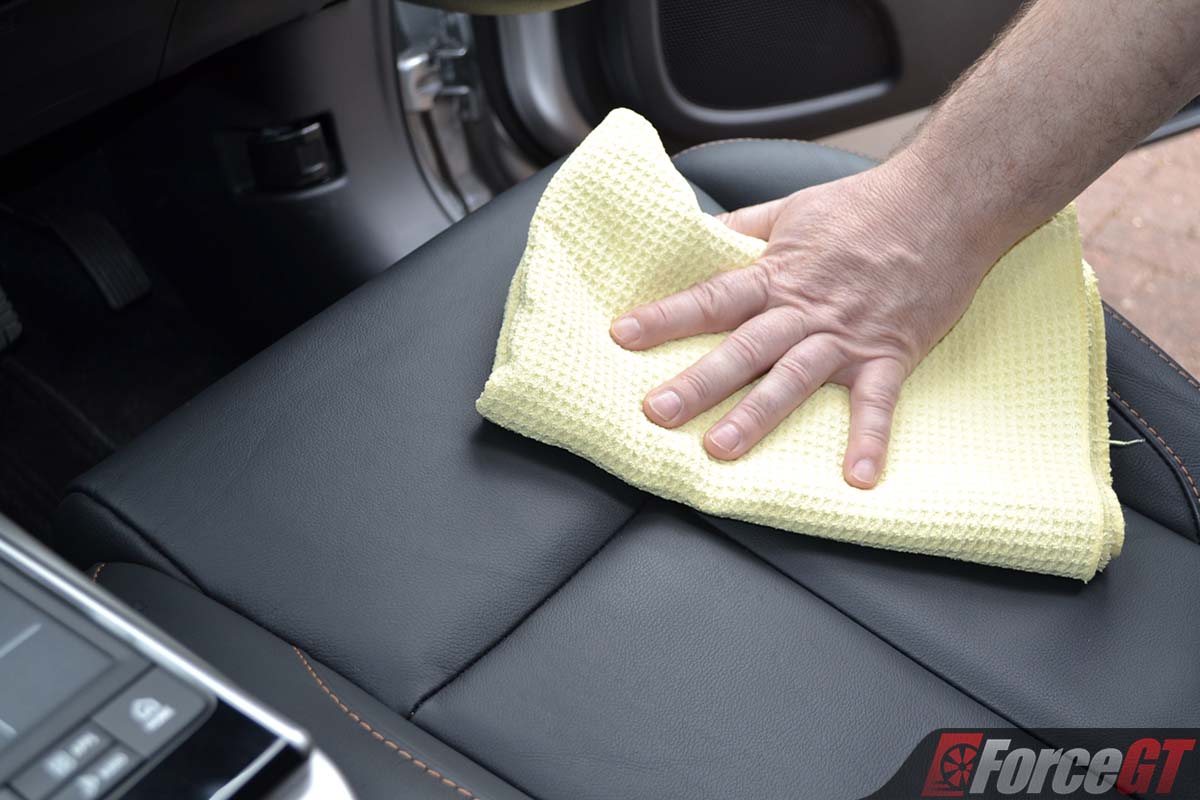
Leather upholstery is best cleaned using a quality product specially formulated for the task. Some will make the leather highly shiny or slippery, so test your cleaning product somewhere unobtrusive before going to town. First vacuum the crevices using the brush attachment on a vacuum cleaner, taking care not to scratch the leather. Use a soft clean cotton towel to apply and remove the cleaner, not a paper towel that can scratch the leather and make sure you get into all the crevices. Once it’s clean, apply a good quality hide food to rejuvenate, nourish and protect the leather. The best way to clean a leather steering wheel or gear shift knob is to use a slightly moist cotton towel – proprietary leather cleaning products can make them slippery, so if you do use them on the steering wheel or shifter, make sure they are well wiped afterwards.
Step 3 (or Step 1, if you’re smart): Protect.
The best way to avoid stains on fabric upholstery or carpet is to treat it with a fabric guard. You can buy it in a spray can or have it professionally applied. Of course, the best time to apply fabric and carpet protection is before anything has happened to it. Vinyl and leather are best protected by regular cleaning and modest application of protectant.
Step 4. Act quickly.
When something is spilled (or thrown up) onto your fabric upholstery, don’t panic. Remove as much of the spill as possible by blotting with paper towels or similar. Don’t wipe as this will only embed the muck even deeper into the fabric. The sooner you get onto it, the better the end result. After a day or two, most spills will have set and be very difficult, if not impossible, to remove.
The good news is that even unprotected fabrics will clean up remarkably well with a neutral detergent and water (one part detergent to 20 parts water). A neutral detergent is one with a pH of 7 (on a scale of zero to 14). Less than 7 means the detergent is acidic, more means it is alkaline. A neutral detergent is least likely to bleach the fabric or remove fabric protection.
If your neutral detergent and water hasn’t done the job, it’s time to call in the big guns. In order of increasing aggression, you can try mild ammonia and water (1:5), distilled white vinegar and water (1:1) or dry cleaning fluid. You’ll also need a spatula or putty knife, clean white terry towelling cloths, a soft bristle brush and a wet-and-dry vacuum.
Despite your best efforts, some stains will be permanent. You might be able to make it less obvious, but the only solution may be to have a section of the carpet or upholstery fabric replaced. Some leather and vinyl stains can be fixed by colour-matching the area with a leather or vinyl repair system, but we’d recommend calling in a professional for this task.
Step 5. Removing odours.
Cars have a nasty habit of picking up some truly terrible odours. Most of these are organically based – food, urine, vomit, tobacco, grass, mould or mildew. And dog. Commercially available cleaners using surfactants, enzymes and denatured alcohol are your best bet to get rid of unwanted smells. The enzymes stop the organic material from decomposing, which is where the bad smell comes from.
Tobacco smoke is a real challenge because it permeates everything, including the seat fabric and cushions and even the foam rubber inside the dashboard (you’ll know because the smell will get stronger when you turn on the heater or air conditioner). Your first step is to shampoo the carpets and upholstery and clean all the surfaces you can reach, including the headlining. Allow the carpet to dry for 24 hours and sprinkle a little baking soda onto the carpet and rub it in with your hands. Leave it for a week and then vacuum your carpets.